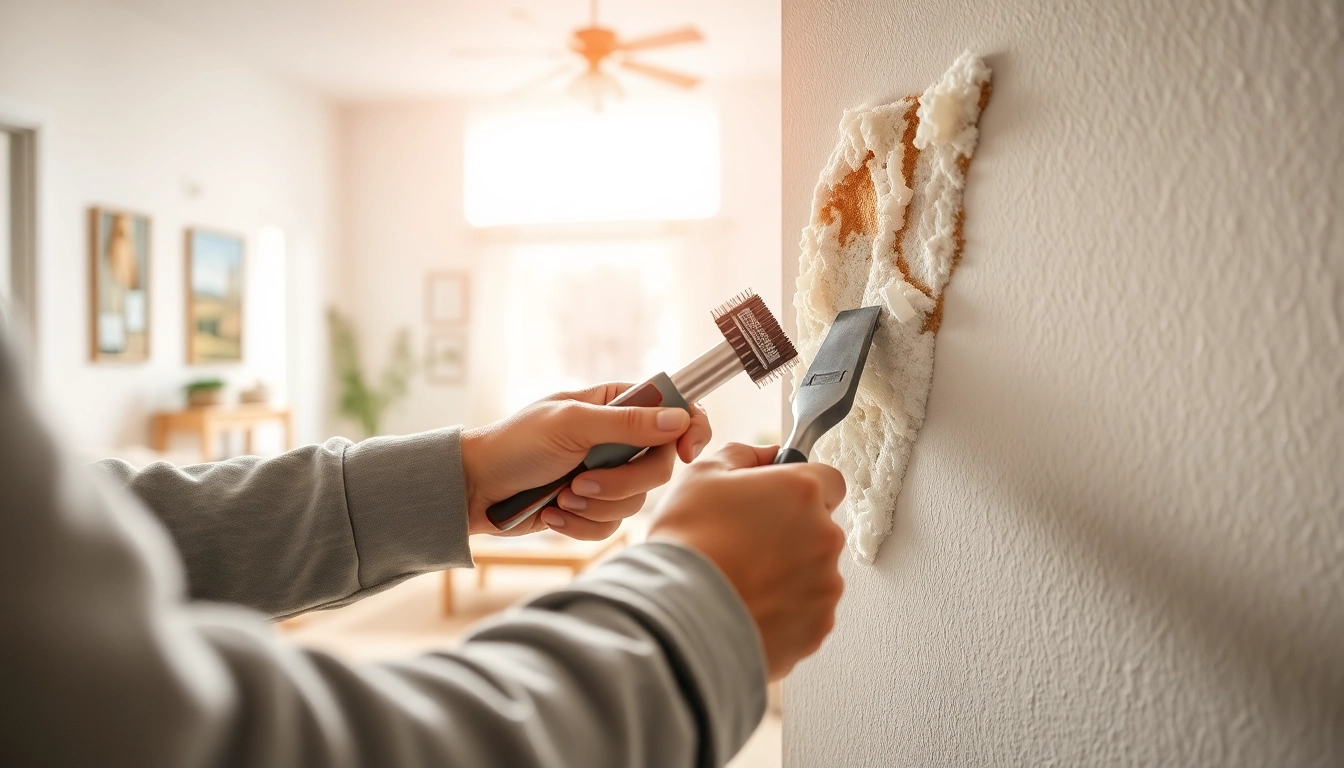
Understanding Spray Foam Removal
What is Spray Foam?
Spray foam insulation is a synthetic polymer that is sprayed as a liquid and expands upon application to fill cavities, gaps, and cracks in buildings. This foam is well-known for its energy efficiency and soundproofing capabilities, making it a popular choice for residential and commercial insulation. Available in two primary types—open-cell and closed-cell—this material offers high R-values, effectively providing thermal resistance. However, despite its many benefits, certain situations may necessitate spray foam removal, particularly if the foam is damaged, improperly applied, or poses health risks.
Common Reasons for Removal
There are various reasons homeowners and contractors consider spray foam removal. The most common reasons include:
- Water Damage: If water seeps into the spray foam, it can lose its insulating properties, leading to mold growth and other structural issues.
- Improper Installation: Poorly applied spray foam can create uneven surfaces, air leaks, and other performance deficiencies.
- Changes in Building Use: Homeowners may change the function of a room that necessitates a different type of insulation.
- Health Concerns: Spray foam can emit volatile organic compounds (VOCs) that may be harmful if inhaled, especially during initial curing.
- Upgrades: New insulation technology or materials may become available that outperform existing spray foam types.
Risks of Improper Removal
Improper spray foam removal can lead to various risks and complications. Not only can it damage underlying structures, but it may also expose individuals to harmful dust and debris. Additionally, without the right tools, removal may be incomplete, which could result in the need for repeat work. Breathing in particles released during removal can pose health hazards, making proper safety measures crucial.
Tools and Equipment Needed for Spray Foam Removal
Essential Tools You’ll Need
Effectively removing spray foam insulation requires several essential tools:
- Utility Knife: A sharp knife is invaluable for cutting through the foam.
- Oscillating Multi-Tool: This tool can effectively cut and scrape foam from surfaces.
- Heat Gun: Applying heat can soften the foam, making it easier to remove.
- Scrapers: Various sizes of scrapers help to lift and remove foam sections from surfaces.
- Vacuum Cleaner: A shop vacuum with a HEPA filter is ideal for capturing airborne dust and debris.
Safety Gear for Protection
Safety should always be the primary concern during any spray foam removal project. Essential safety gear includes:
- Respirator Mask: To protect against inhaling harmful dust or vapors.
- Gloves: To prevent skin contact with foam and dust.
- Safety Glasses: To shield your eyes from debris.
- Long Sleeves & Pants: Protective clothing can minimize skin exposure and irritation.
Choosing the Right Equipment
Selecting the correct equipment for spray foam removal is critical for both efficiency and safety. It is essential to match your tools to the specific type of foam you are dealing with, whether it’s closed-cell or open-cell foam. Additionally, consider the scale of your project when determining equipment needs. Among the tools mentioned, an oscillating multi-tool is often favored for its versatility and effectiveness in tackling foam in tight spaces.
Step-by-Step Guide to Spray Foam Removal
Preparation and Planning
Before you begin the spray foam removal process, preparation is key. Start by assessing the area and identifying the type and extent of spray foam that needs to be removed. Clear the workspace of any obstacles and cover nearby surfaces to minimize damage. Additionally, ensure that you have all necessary tools and safety gear readily available. It’s recommended to follow a plan that outlines the removal stages, which can help maintain organization and efficiency throughout the project.
Executing the Removal Process
The execution of spray foam removal can be broken down into several manageable steps:
- Start with the Edges: Use a utility knife to cut around the edges of the foam, making it easier to pry away from surfaces.
- Apply Heat: If necessary, gently use a heat gun to soften the foam to make removal easier.
- Use Scrapers: Employ scrapers to peel off large sections of foam. Start from one edge and work your way inward.
- Vacuum Up Debris: Regularly vacuum up dust and foam particles to keep the workspace clean and avoid inhalation hazards.
- Check for Residue: After the bulk of foam is removed, inspect the area for any leftover residue and use scrapers to eliminate it.
Final Cleanup and Aftercare
Once the spray foam has been successfully removed, a thorough cleaning is necessary to eliminate any remaining dust and debris. Dispose of foam pieces responsibly, according to local waste disposal regulations. After cleanup, it may be beneficial to inspect the area for any damage caused during the removal. Address any underlying issues before considering new insulation, ensuring a safe and energy-efficient environment moving forward.
Best Practices for Efficient Spray Foam Removal
Working in Stages
To improve efficiency, break the removal process into stages. This allows for better focus, reduces fatigue, and helps manage the complexity of large-scale removals. Establish a timeline for each stage, evaluating progress along the way.
Managing Dust and Debris
Dust and debris can make spray foam removal messy and hazardous. To manage these effectively, use tarps to cover floors and nearby surfaces. Regularly vacuum the area and wear protective gear to minimize health risks. Wetting the area slightly before starting can also help reduce dust production.
Staying Safe During the Process
Safety is paramount when it comes to removing spray foam. Always wear appropriate safety gear and follow best practices for tool use. Recognize potential hazards, such as chemical exposure or falls, and address them proactively. It’s advisable to have a second person assist if you’re working in a more challenging environment.
FAQs About Spray Foam Removal
How long does spray foam removal take?
Typically, spray foam removal may take a few hours to several days, depending on the size of the area and the amount of foam.
Can I remove spray foam myself?
Yes, it can be DIY but requires the right tools and safety gear. Professional help is advisable for larger jobs.
Is spray foam removal messy?
Yes, it can be messy, with debris and dust. Preparing the area and using protective coverings can help.
What are the costs associated with removal?
Costs vary widely depending on the project scope. Factors include labor, equipment, and disposal fees.
Are there health risks with spray foam?
Improper removal can release harmful particles. Safety gear is essential to minimize health risks.